Craft instructions for your paper kite

Autumn is the best time to build a kite. We'll show you how to easily build a kite yourself without much effort and fly it in wind and weather!
Craft instructions:
- a sheet of paper (DIN A4)
- strong thread (a few meters)
- crepe paper
- a sewing needle
- colorful paint (e.g. wax crayons or watercolor)
- scissors
- ruler and pencil
- glue
Bastelanleitung:
- Draw a rectangle (12 x 16 cm) on the paper using a pencil. Then draw the outline of the kite within this rectangle using a ruler. Cut out the outline with scissors.
- Now the kite can be painted in bright colors. For a funny face, then draw two large eyes, a nose, and a mouth – ideally using a thick black felt-tip pen.
- Then cut two paper strips, 1 cm wide, one 12 cm and the other 16 cm long. The strips are folded and bent lengthwise and then cut halfway in the middle, so that they can be slotted together in the next step.
- Now glue the longer paper strip along the longitudinal axis of the kite, and then glue the shorter strip perpendicular to it. Any protruding ends of both strips should be cut off.
- Thread a piece of yarn (length: approx. 80 cm) through the rear of the kite and carefully knot it in place.
- Cut small rectangles (2 x 5 cm) from the colorful crepe paper. Fold them into small accordions and tie them to the kite string, which should be at least one meter long.
Now you can take the finished kite tail and tie it to the lower tip of the kite, fastening it behind the glued paper strips. Your self-made paper kite is finished.
Have fun crafting!
Discover tips and tricks
Discover many more tips and tricks in the Nolte magazine.

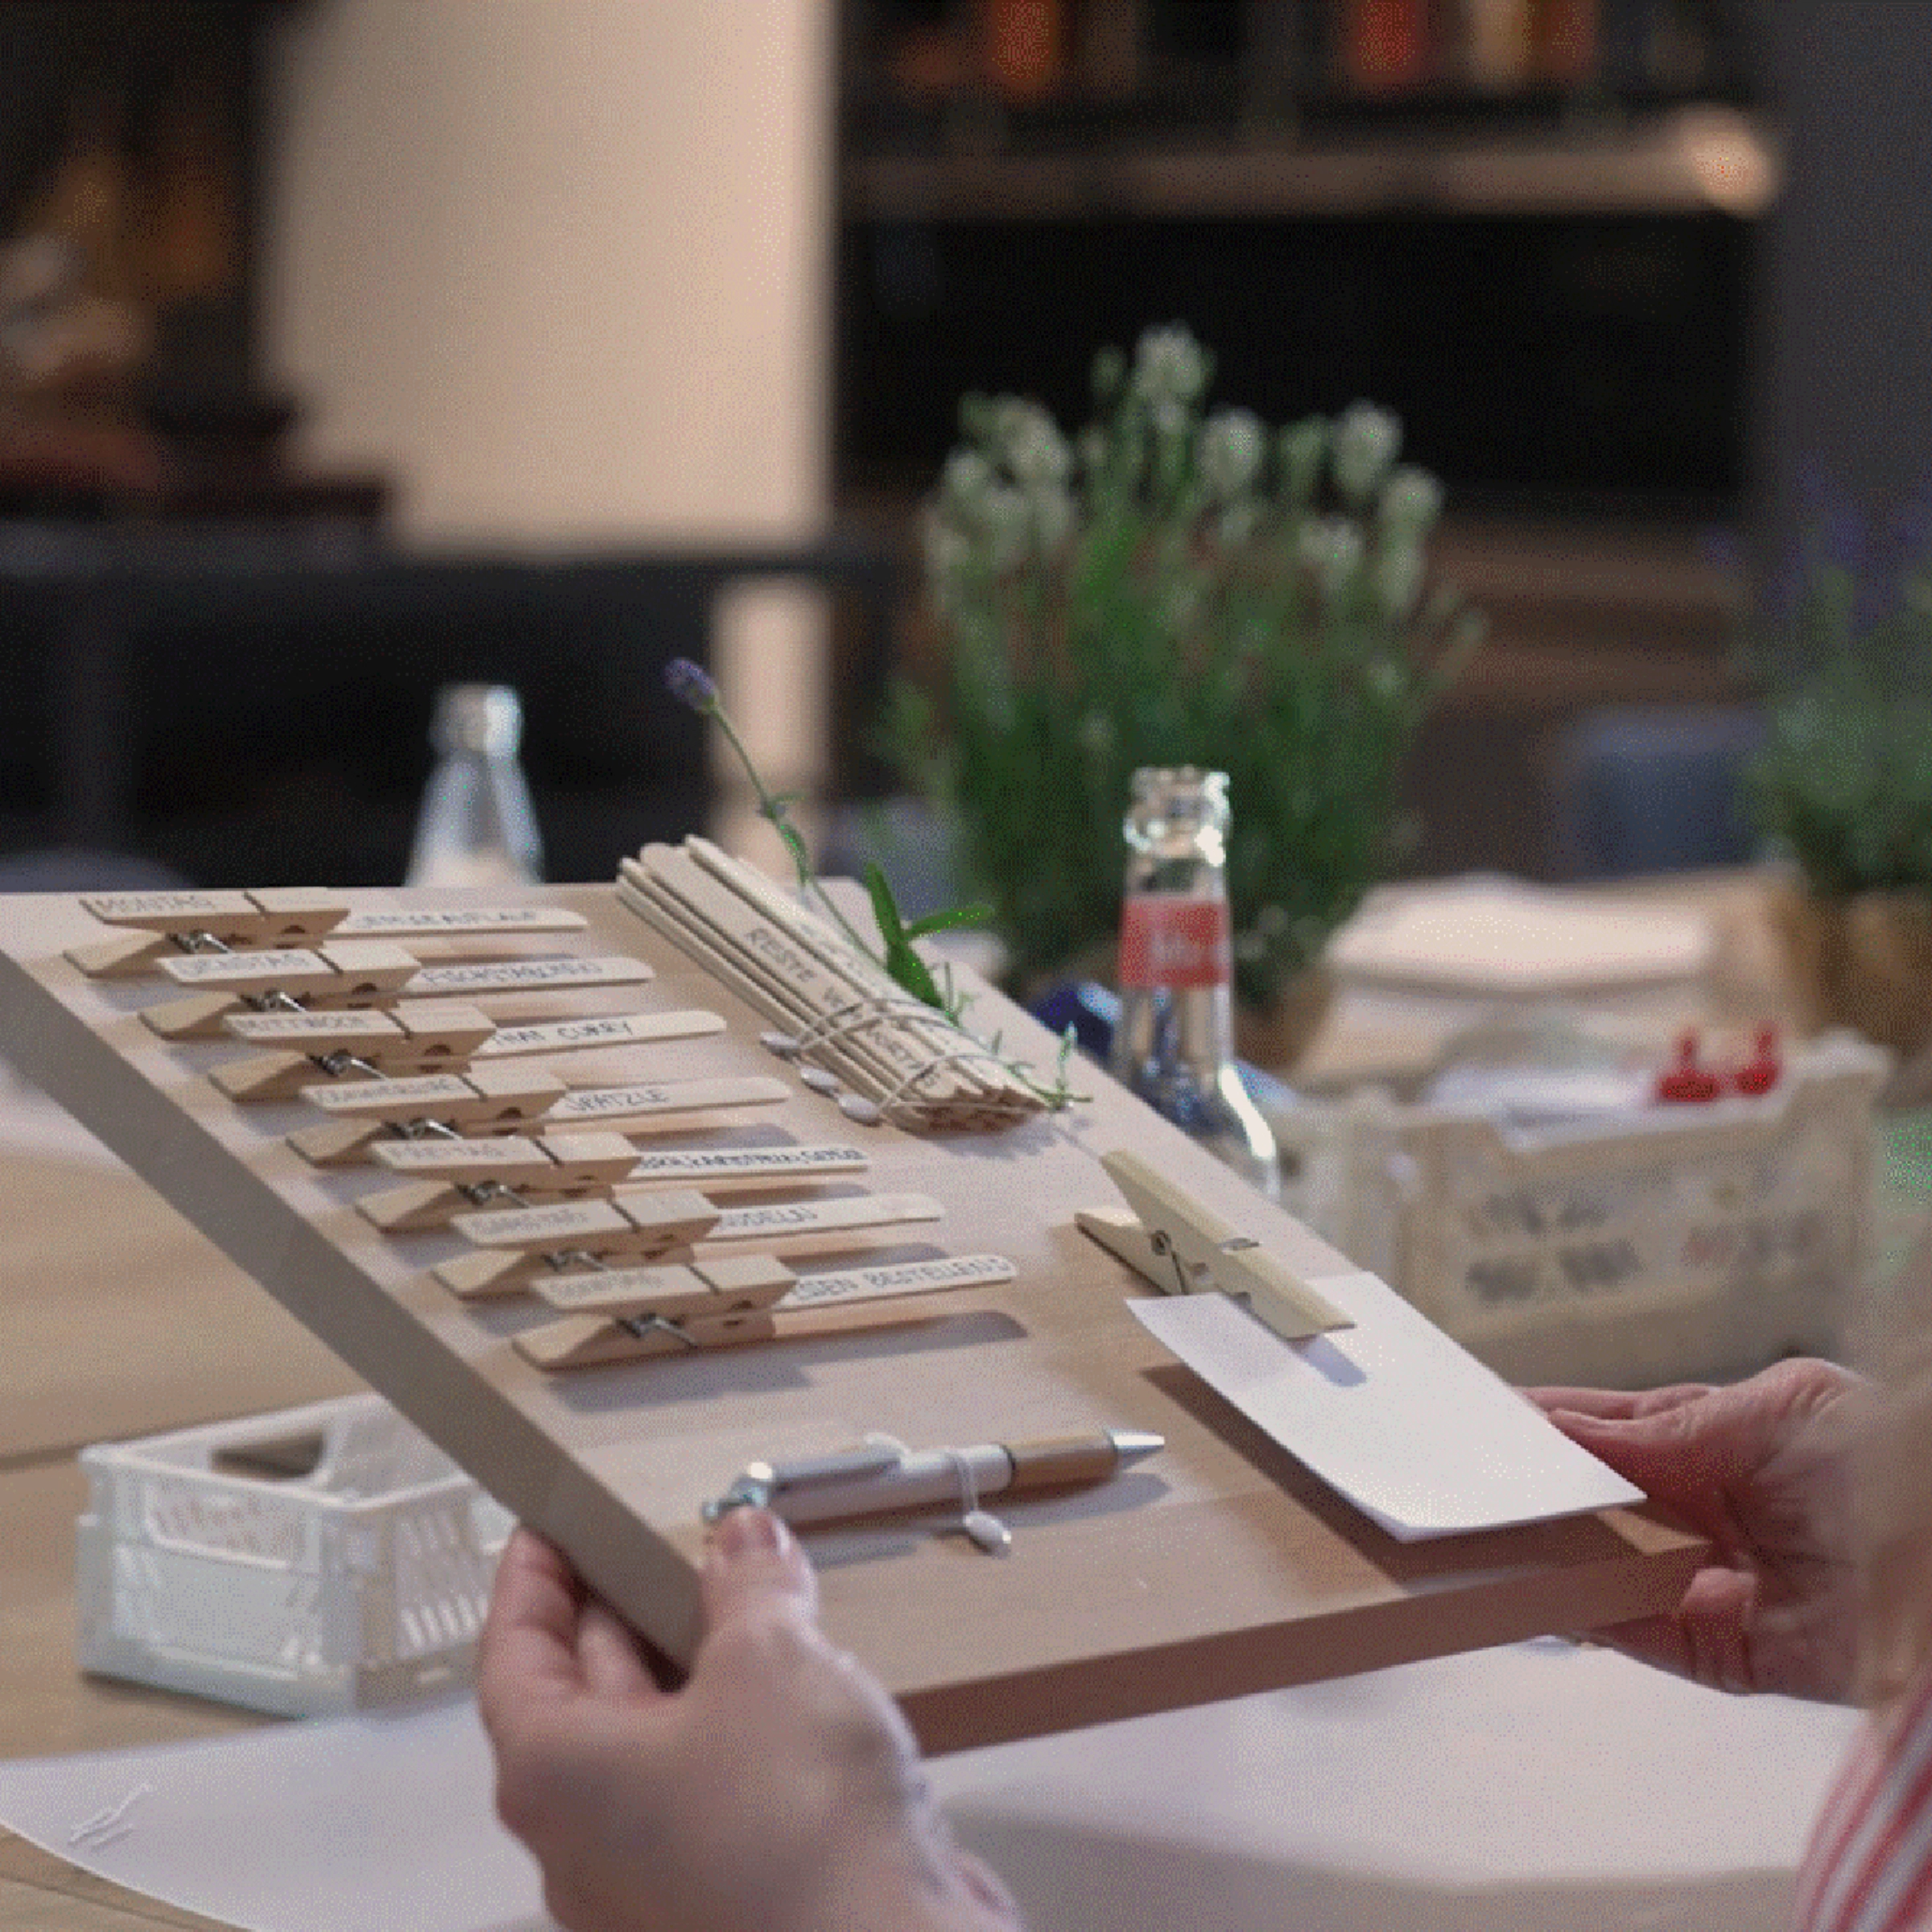
Dekokrams Foodboard Instructions
The decorative foodboard is a captivating DIY project made from simple materials such as a wooden board, clothes pegs, ice-cream sticks and more. Follow these instructions to create your own practical yet appealing foodboard decoration.
Read more
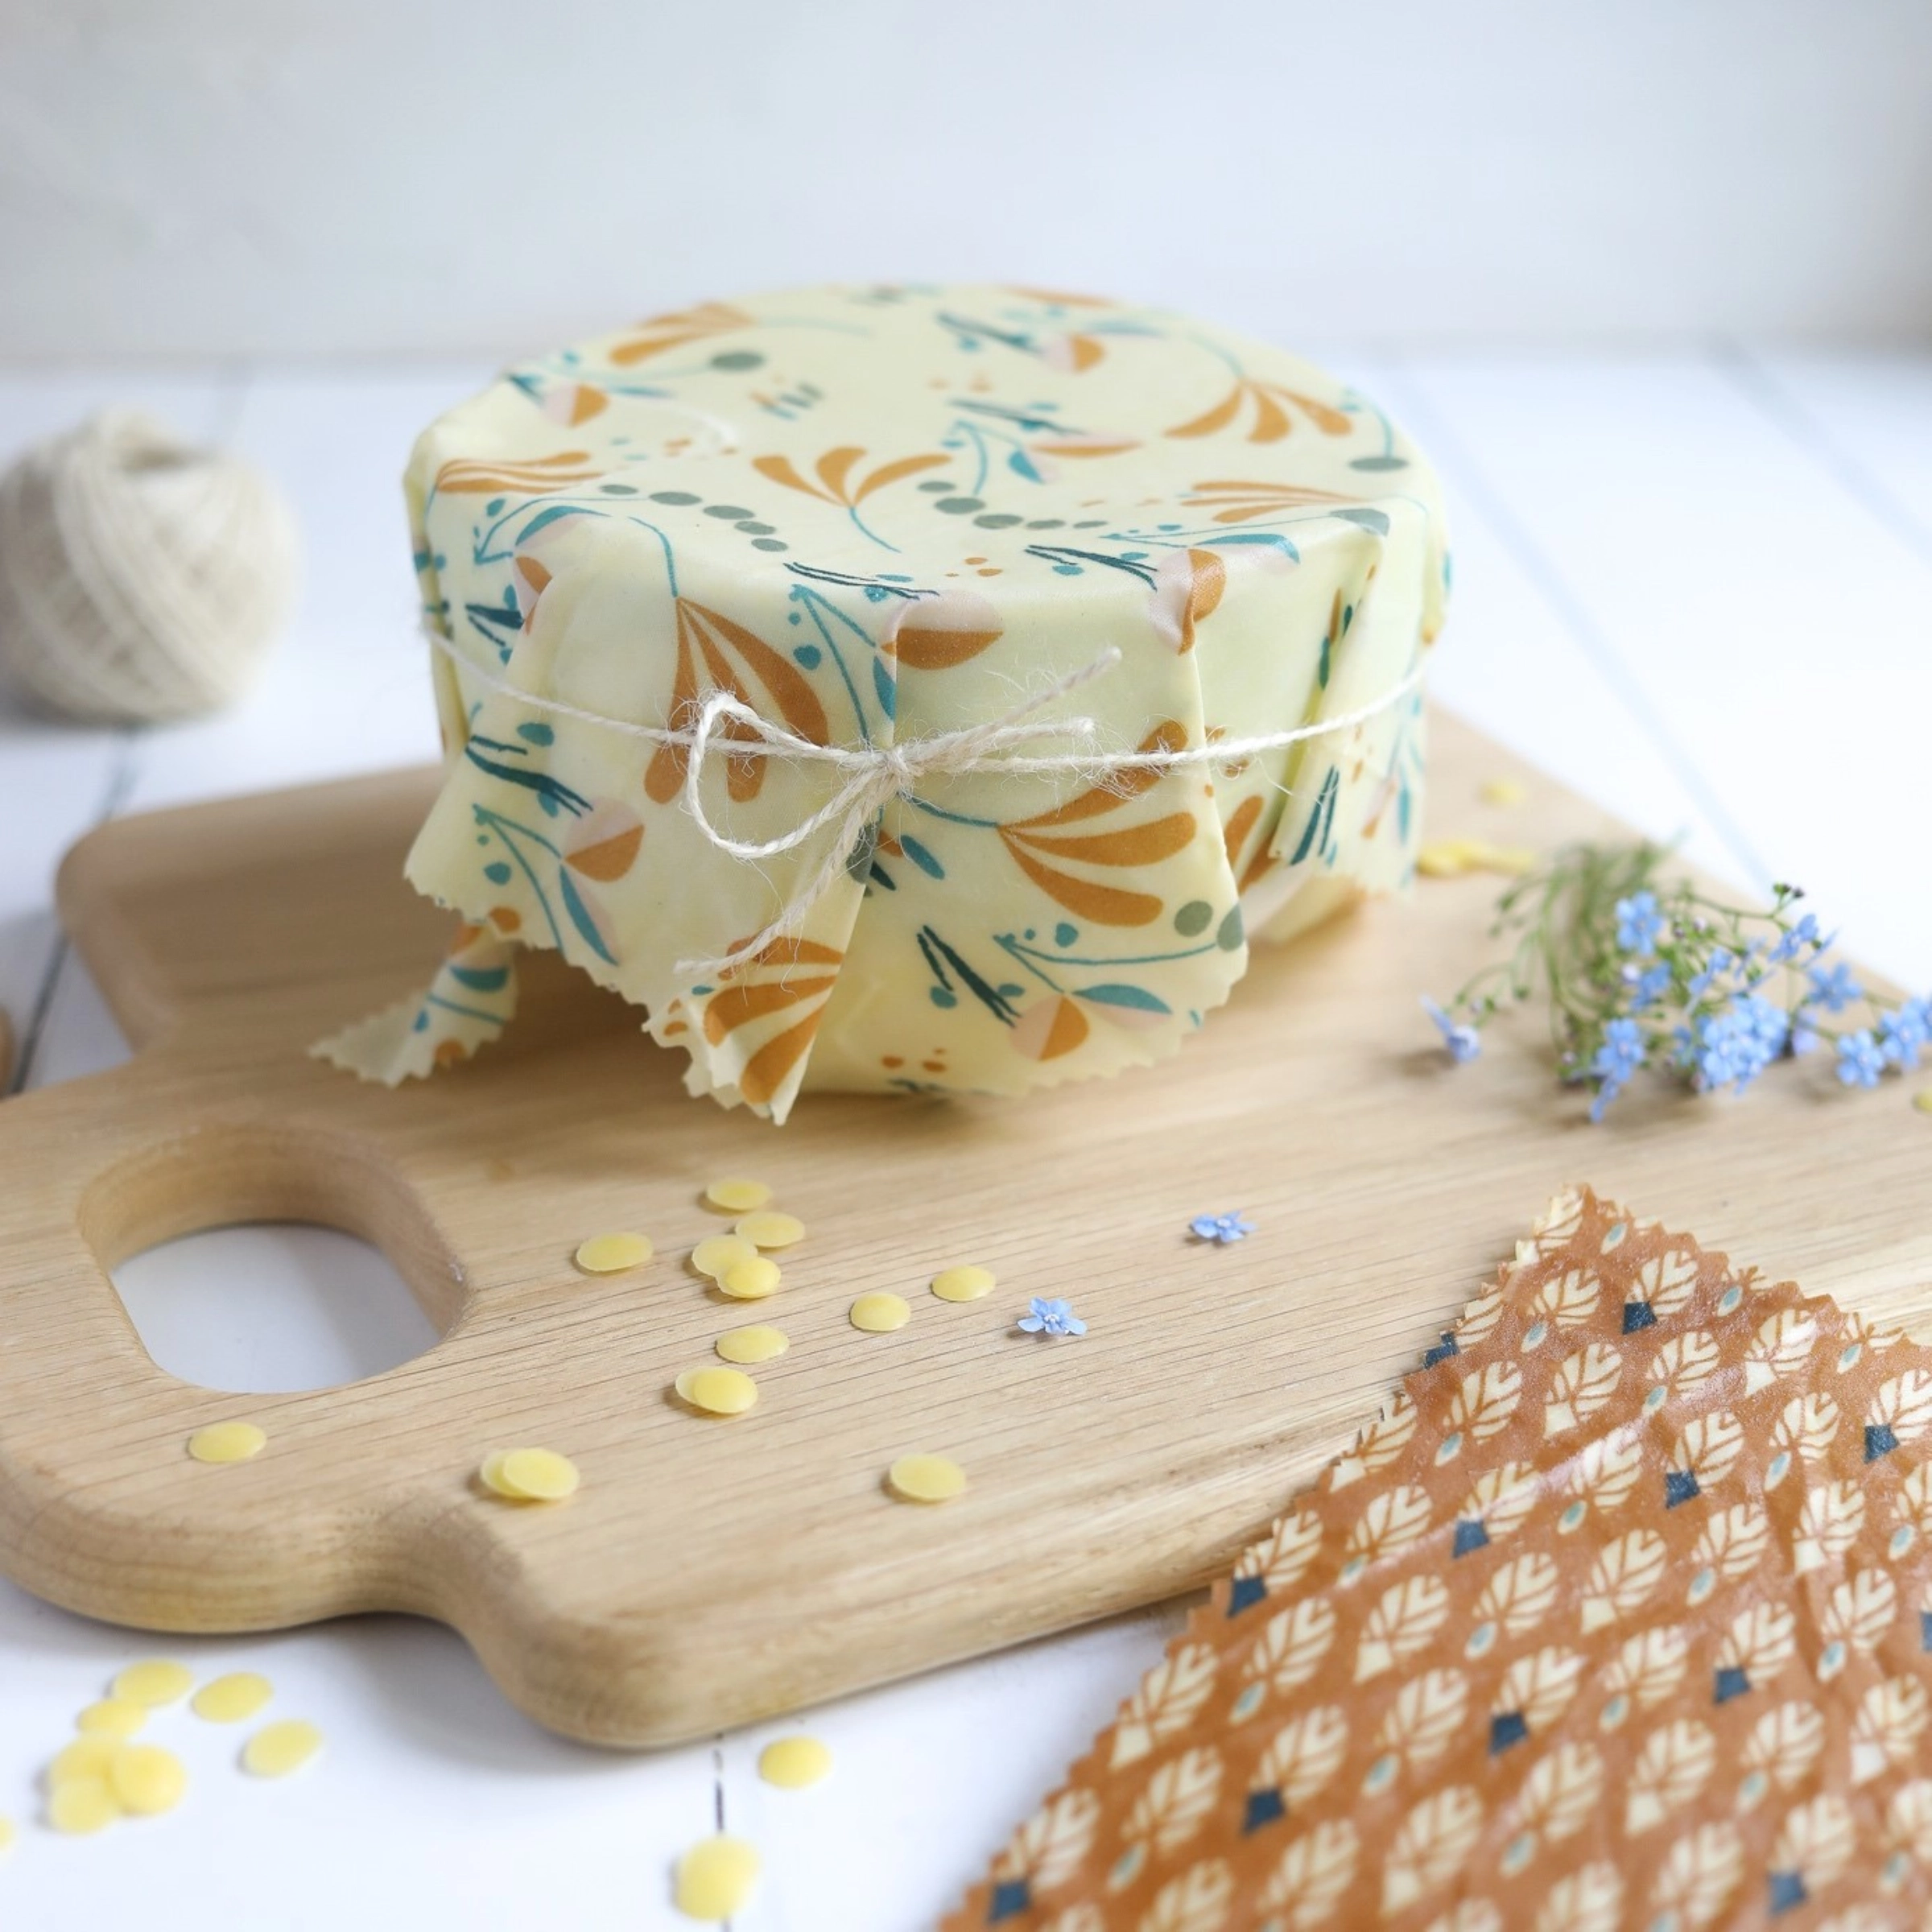
DIY Beeswax Wraps Instructions
Beeswax wraps are an extremely fascinating DIY project that is both environmentally conscious and practical. With just a few materials, these wraps can be made, providing a sustainable alternative to single-use plastic.
Read more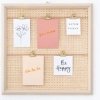

Tutorial: Make Your Own DIY Pinboard
With a picture frame, Wiener Geflecht and creative ideas, you can design a unique pinboard. Follow these instructions to create your own decorative and practical pinboard.
Read more
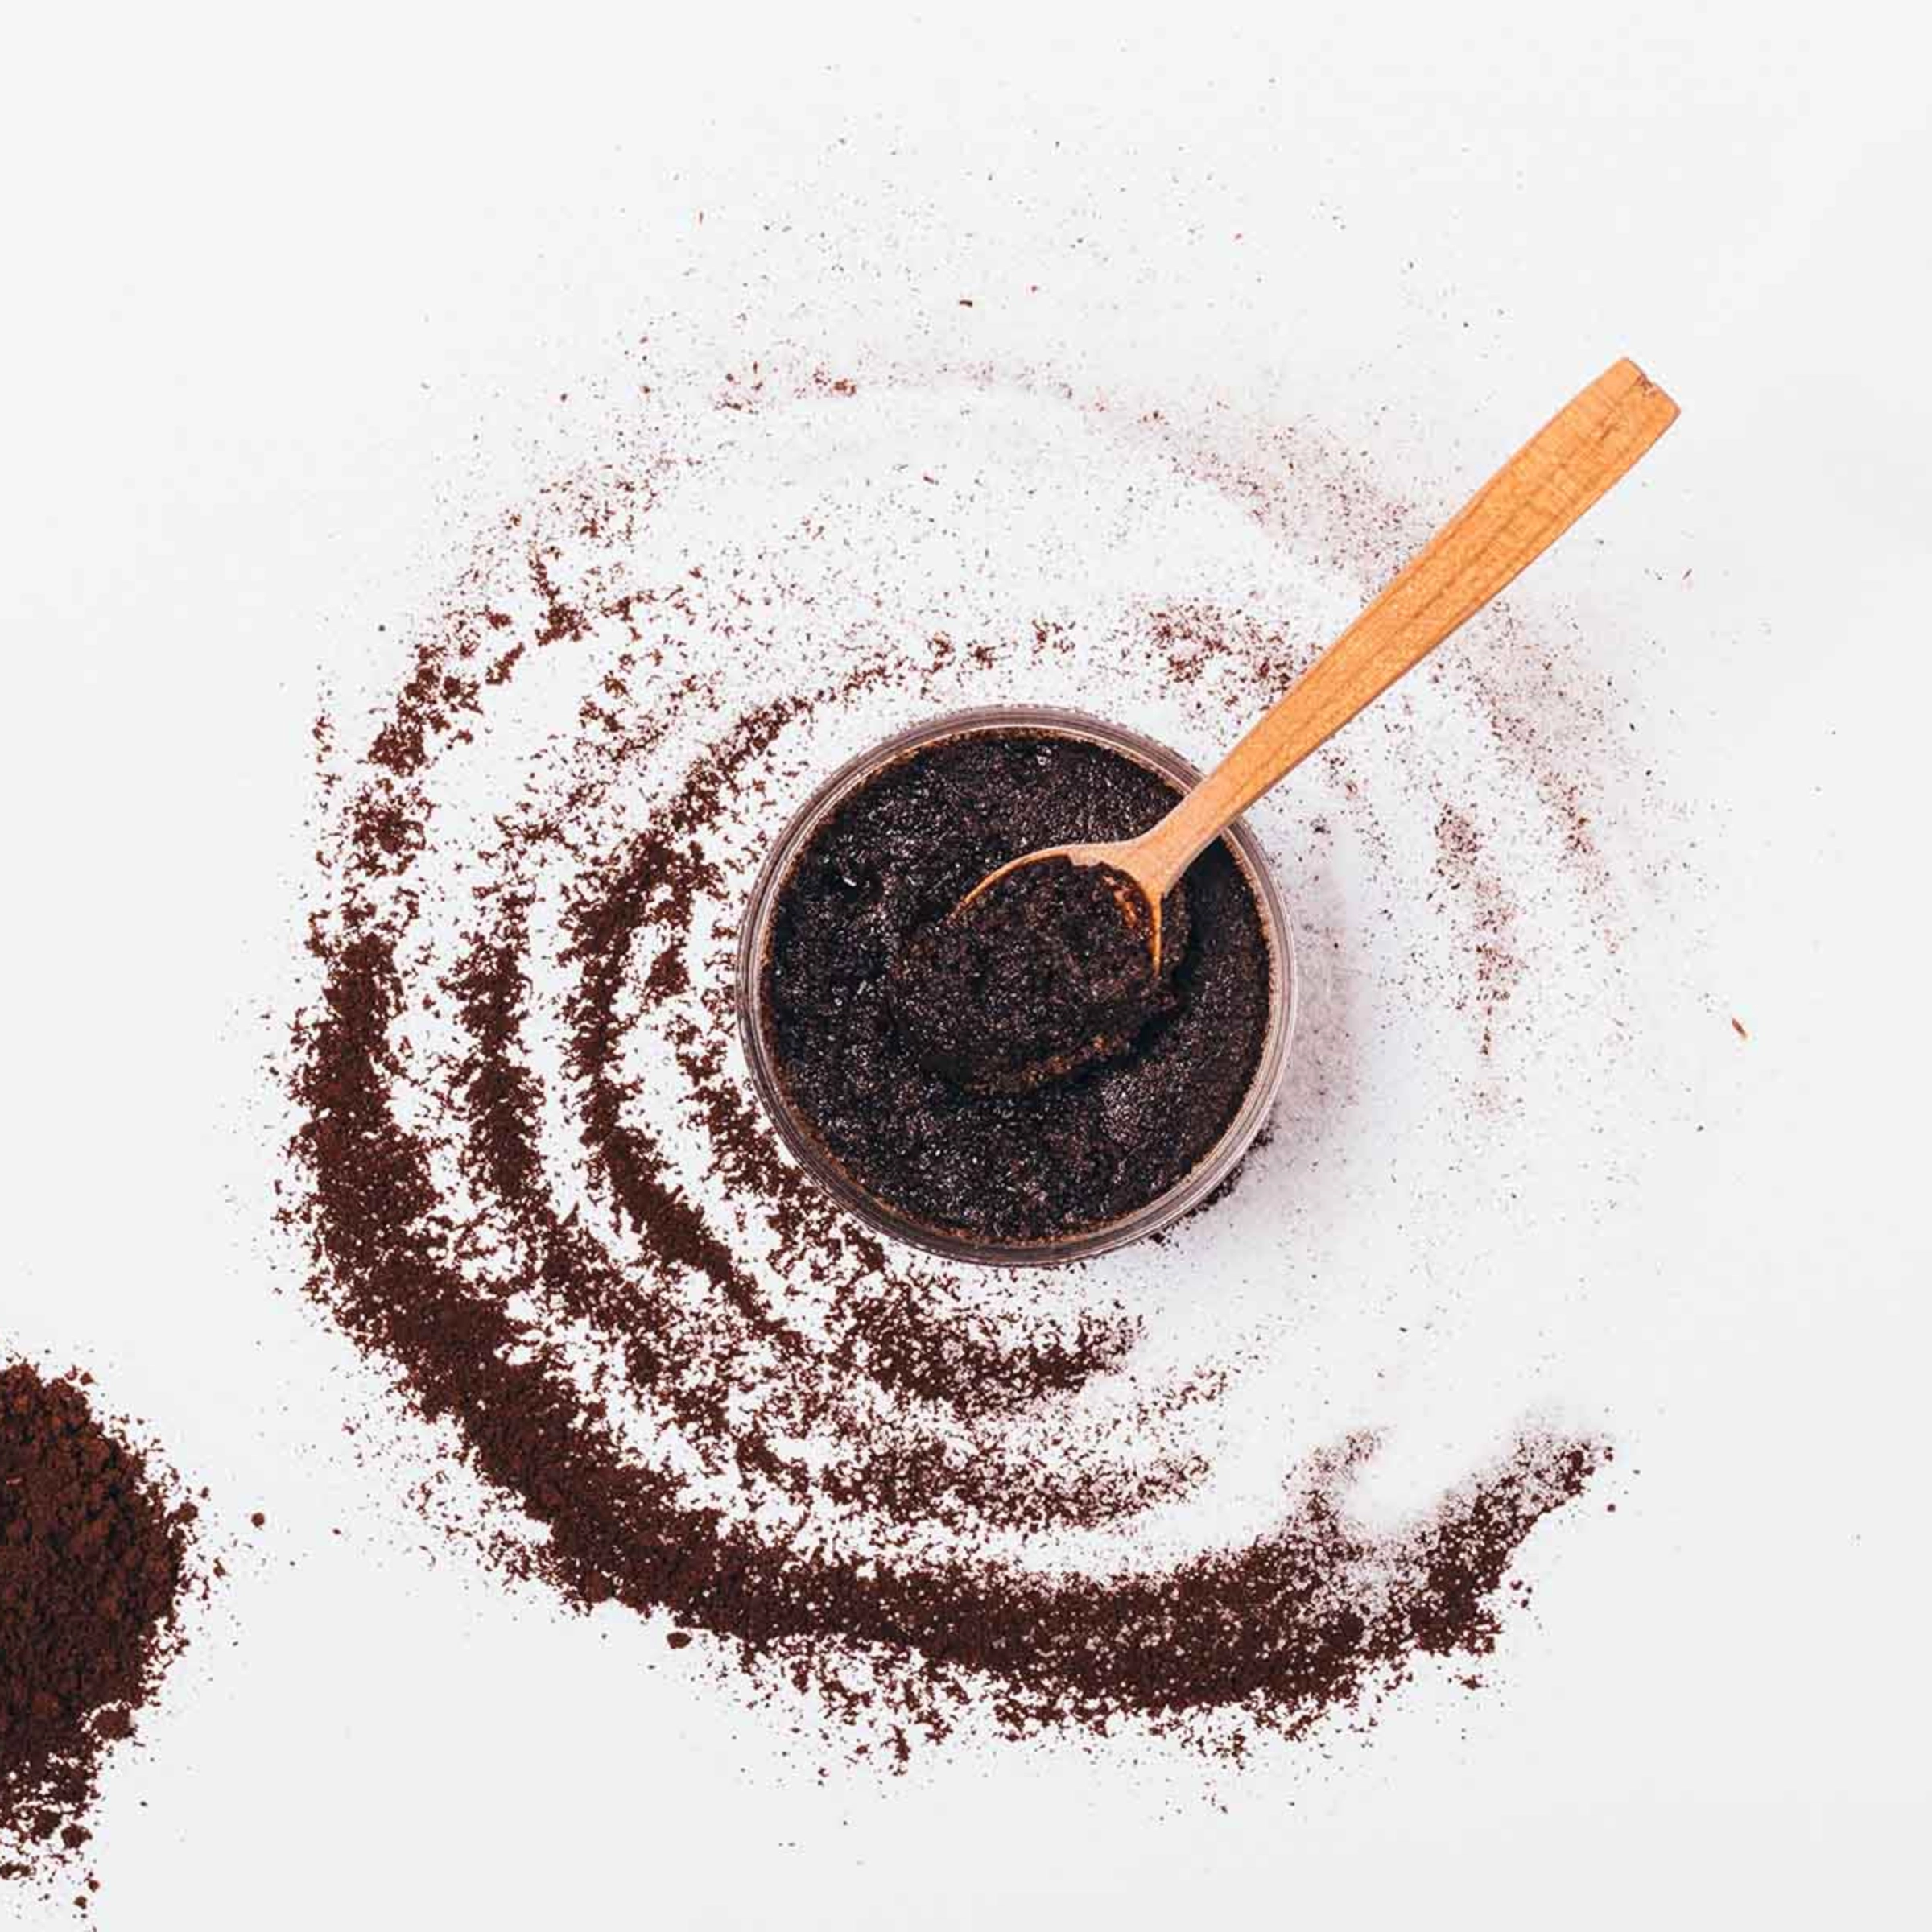
Instructions Homemade Scrub from Coffee Grounds
Follow the instructions to create your own peeling and enjoy the invigorating effect of this sustainable skincare.
Read more