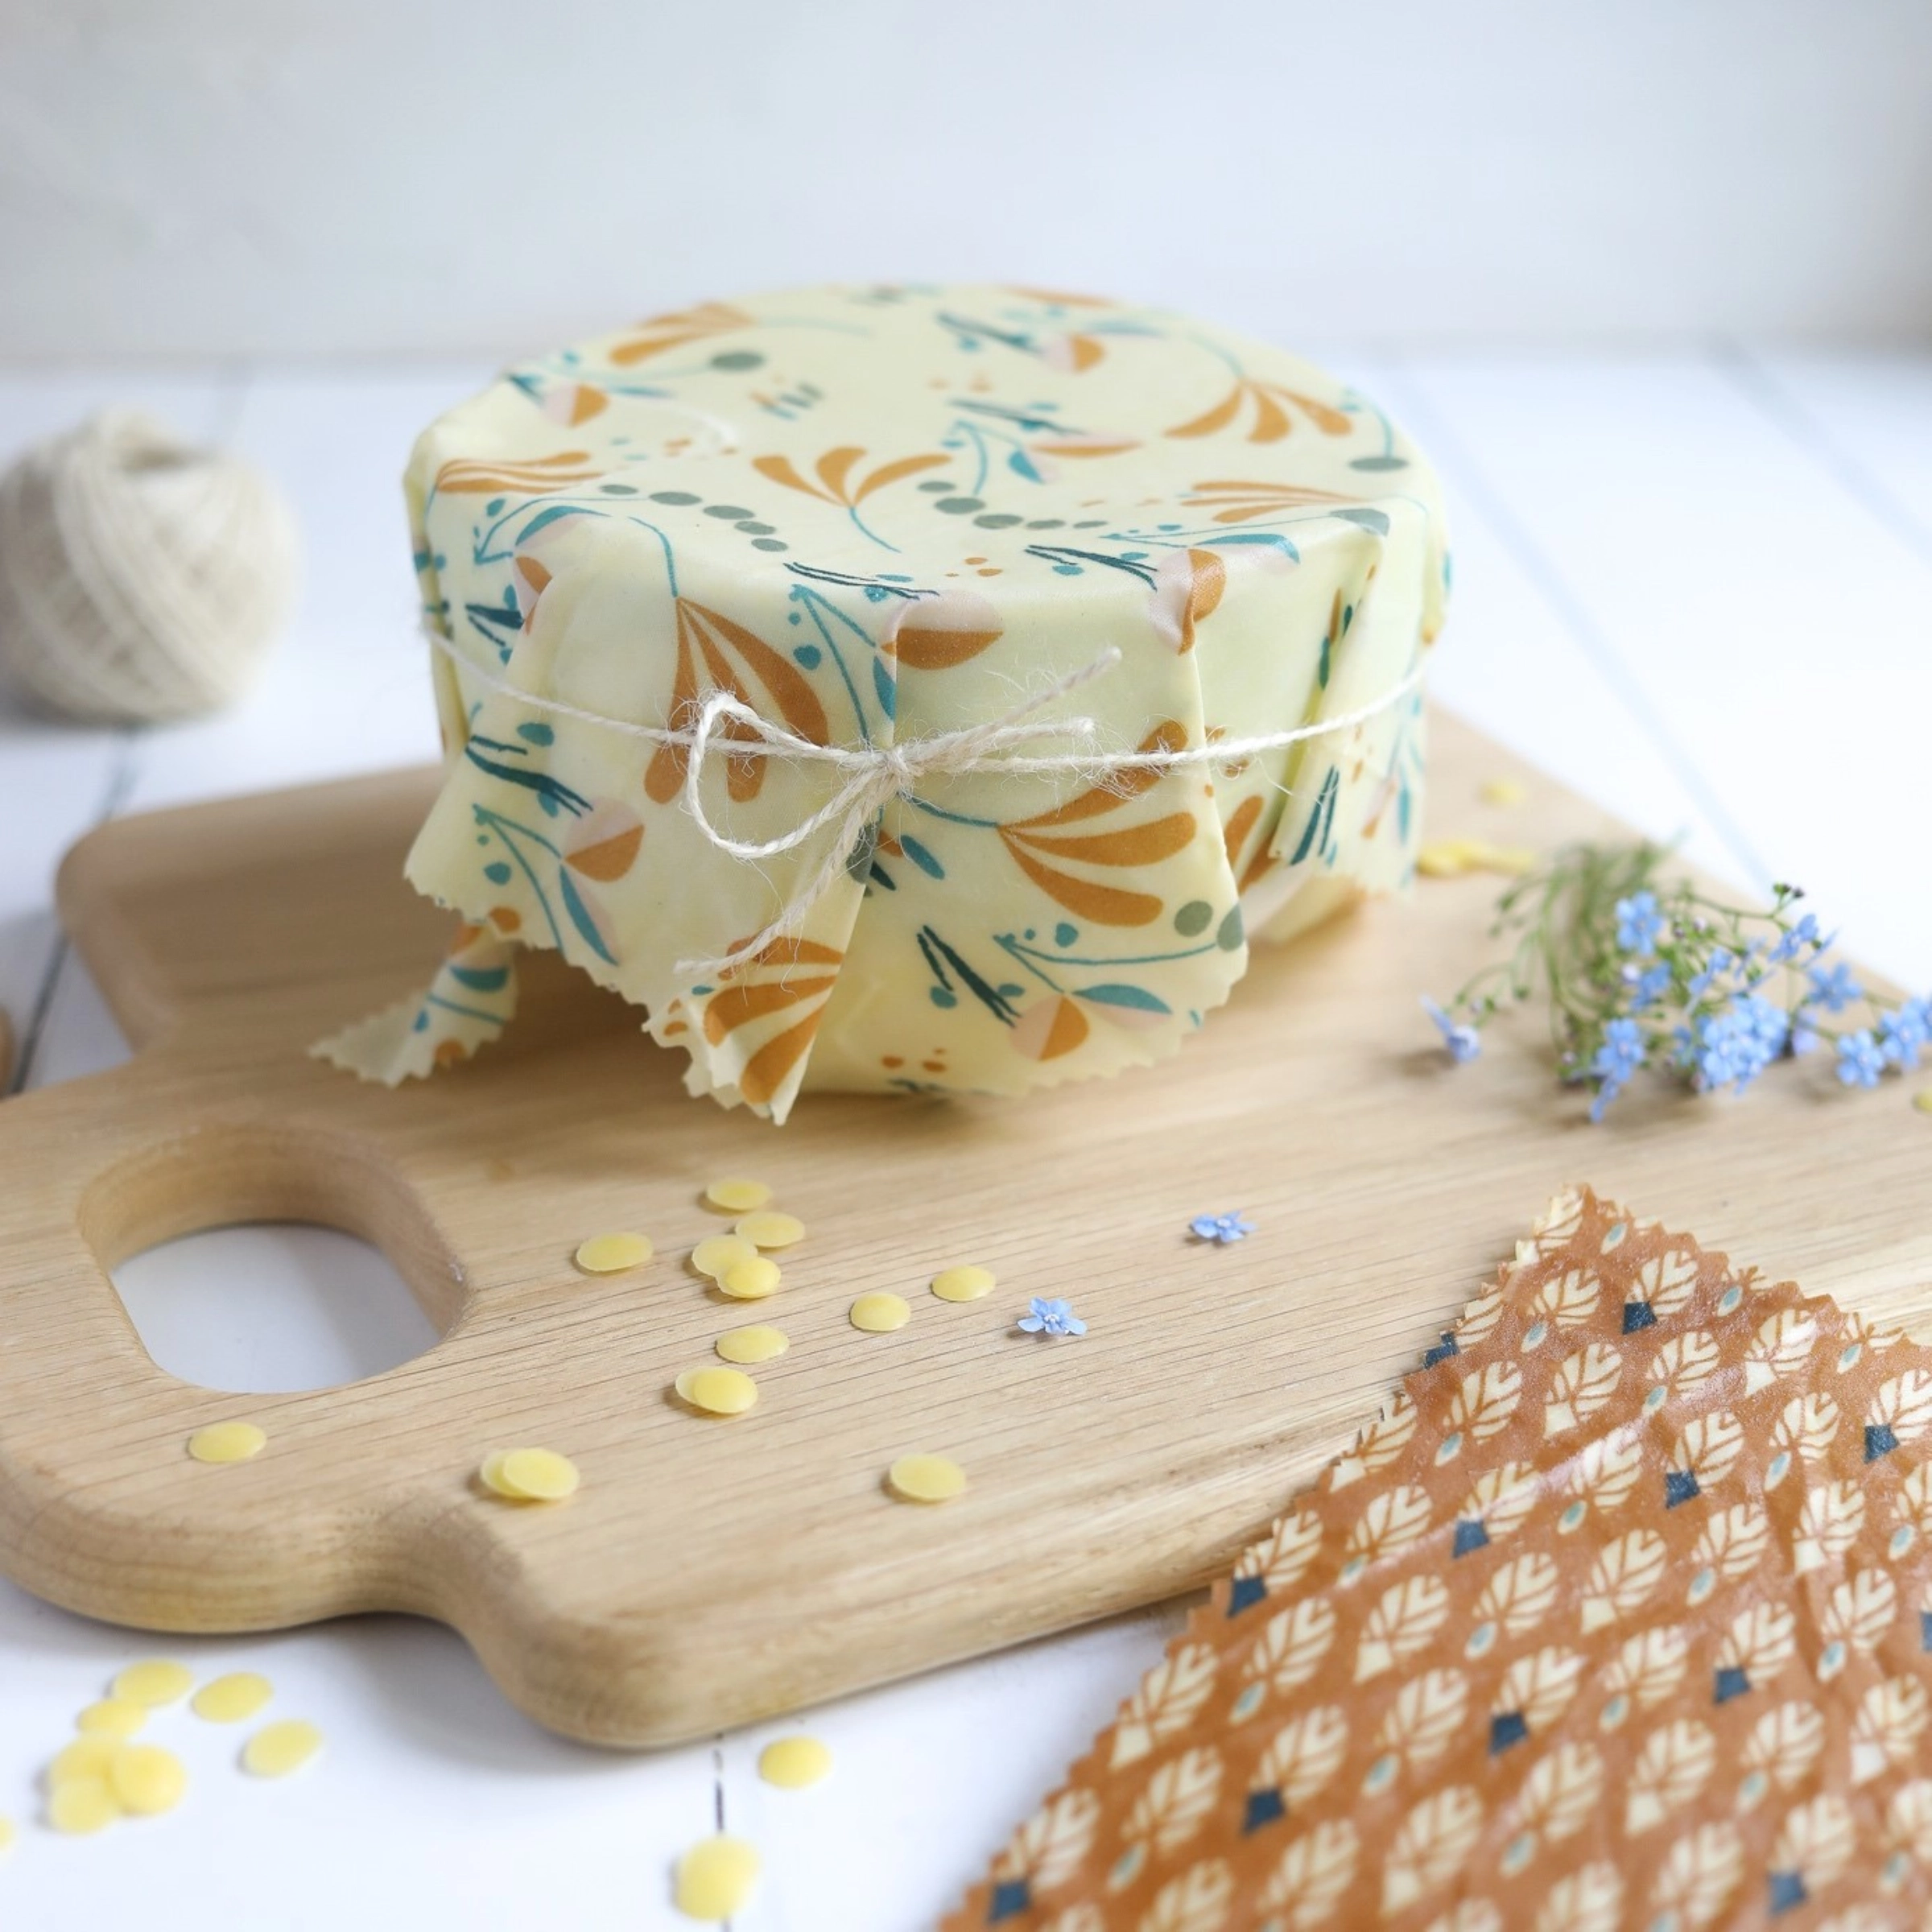
Instructions DIY beeswax wraps

Material
- 25 × 25 cm pre-washed cotton fabric
- Approx. 15 g pure beeswax (e.g. in pellet form)
- A piece of baking paper
- A small brush

In the oven
1. Preheat the oven to 80 °C.
2. Place the fabric on a baking tray lined with baking paper and spread the beeswax pellets evenly over it.
3. Put the baking tray with the cloth into the oven. After approx. 5 - 6 minutes, the pellets will melt.
4. If needed, distribute further using a brush.
5. Now remove the cloth and allow it to cool.
In a water bath
1. Melt the beeswax pellets in a hot water bath.
2. Quickly spread onto the fabric with the brush.
3. If the wax has not been sufficiently distributed, briefly place it into the oven once more and distribute with a brush.
The optimal method is preparation in the oven, since only one step is required here.
However, if you have made the cloths using the water bath method, briefly place them again in the oven at home and briefly distribute the wax with a brush. Alternatively, place it between two sheets of baking paper and briefly iron over it until the wax has distributed evenly.
Cleaning and care of the cloths: Occasionally wash with lukewarm water or (if necessary) additionally with a mild organic cleaning agent, then let air dry.
Never use the cloths for raw meat.
DIY Beeswax Wraps Instructions
Discover tips and tricks
Discover many more tips and tricks in the Nolte Magazin.