Moss Picture Instructions

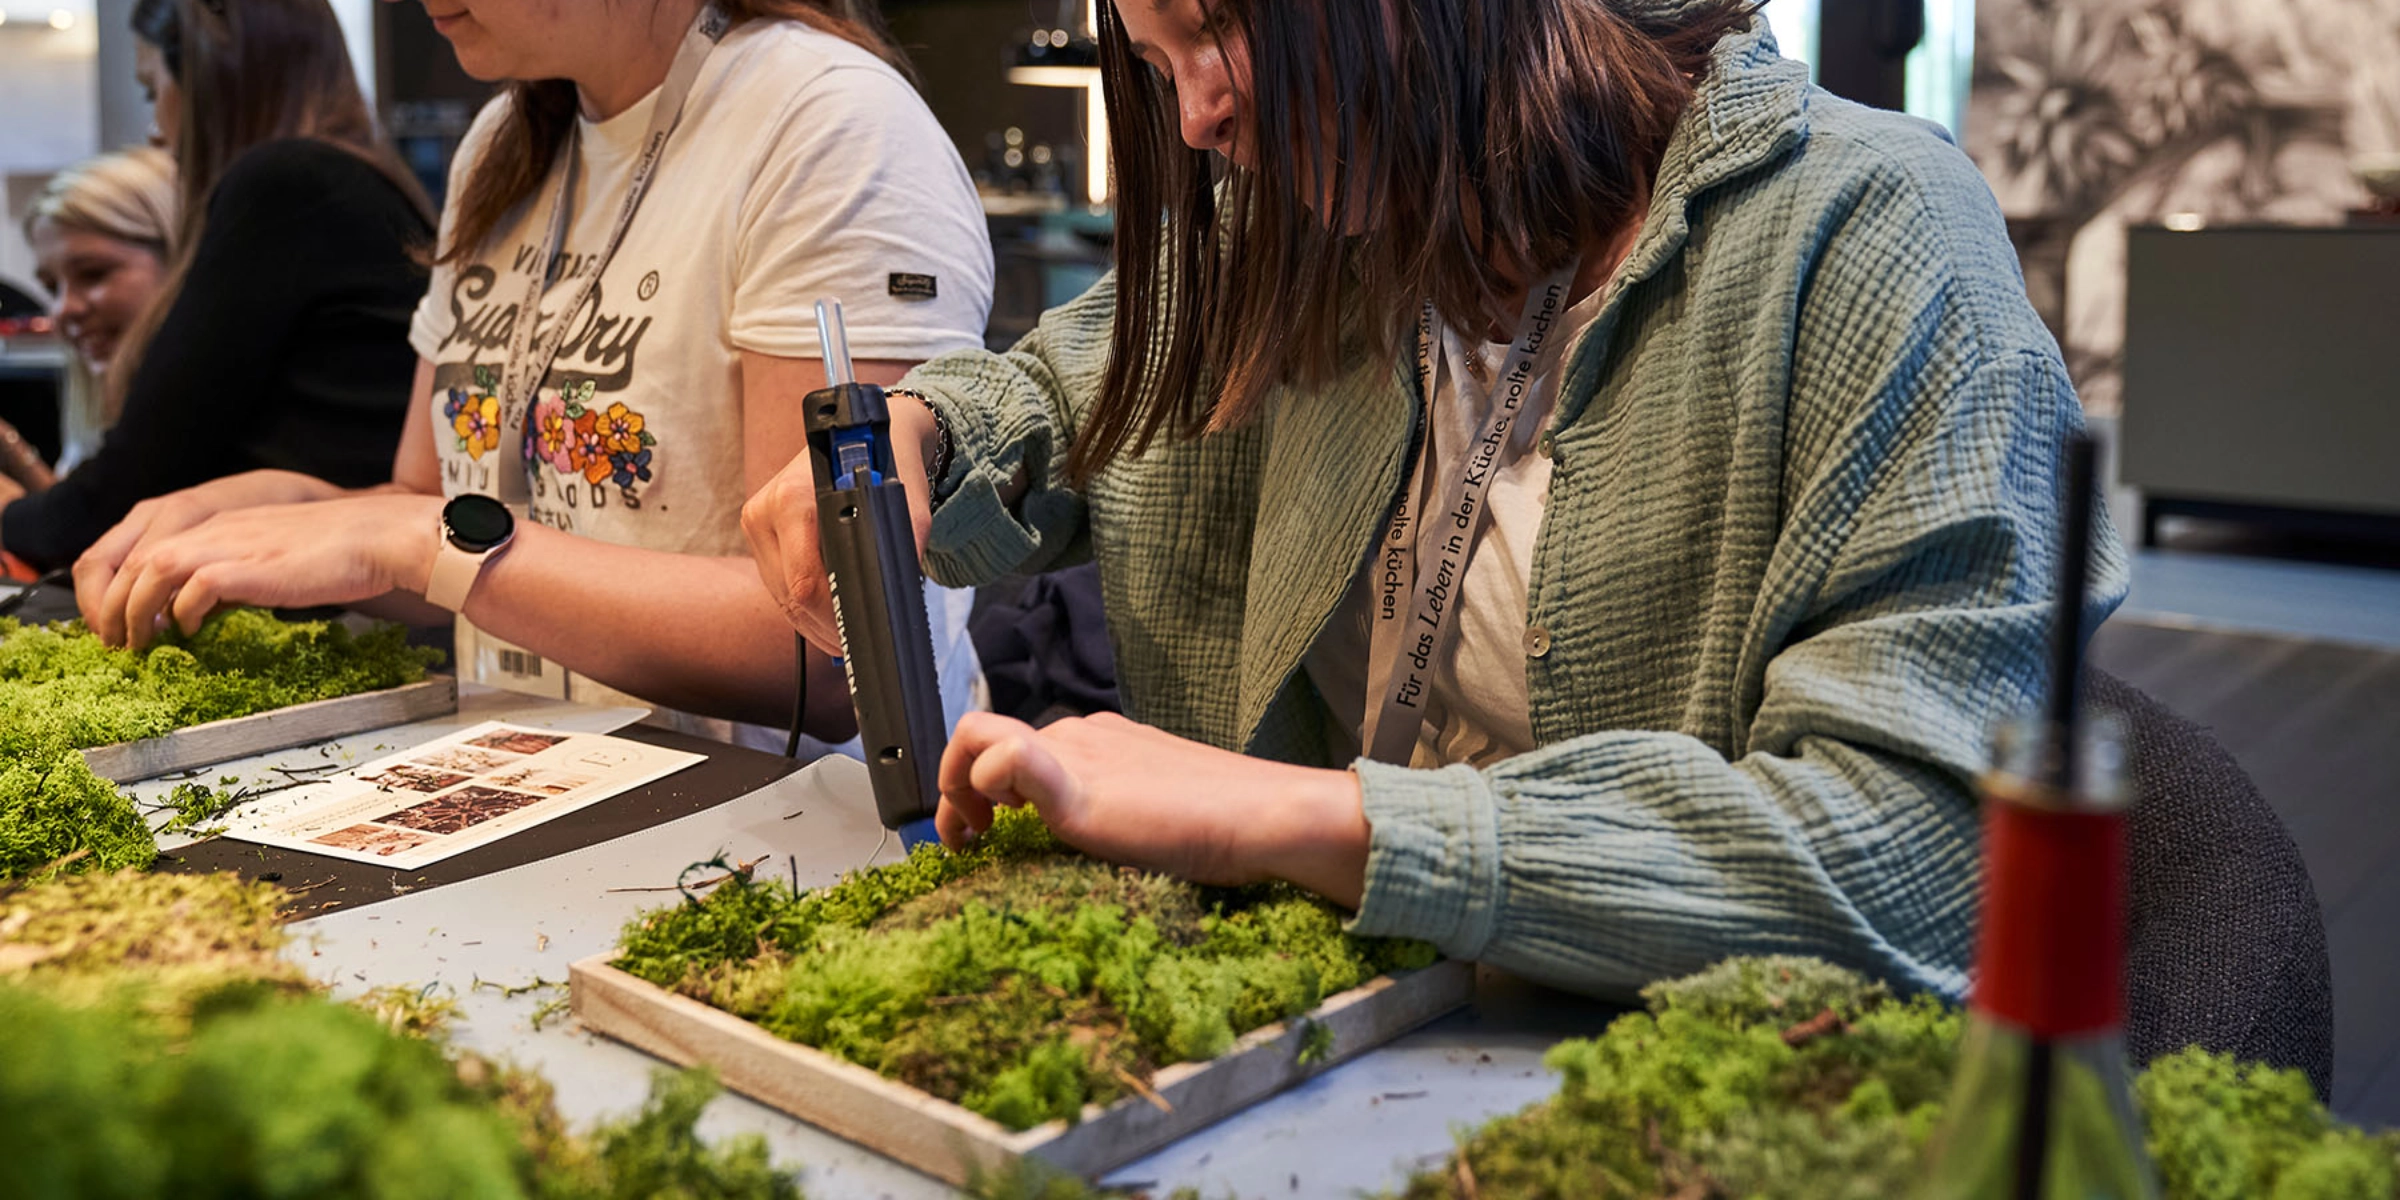
Material
- a wooden board (size according to your preference)
- hot glue gun
- various types of moss (you can find them in garden centers or online)
Instructions
1. Make sure your wooden board is clean and smooth. If necessary, lightly sand it to achieve an even surface.
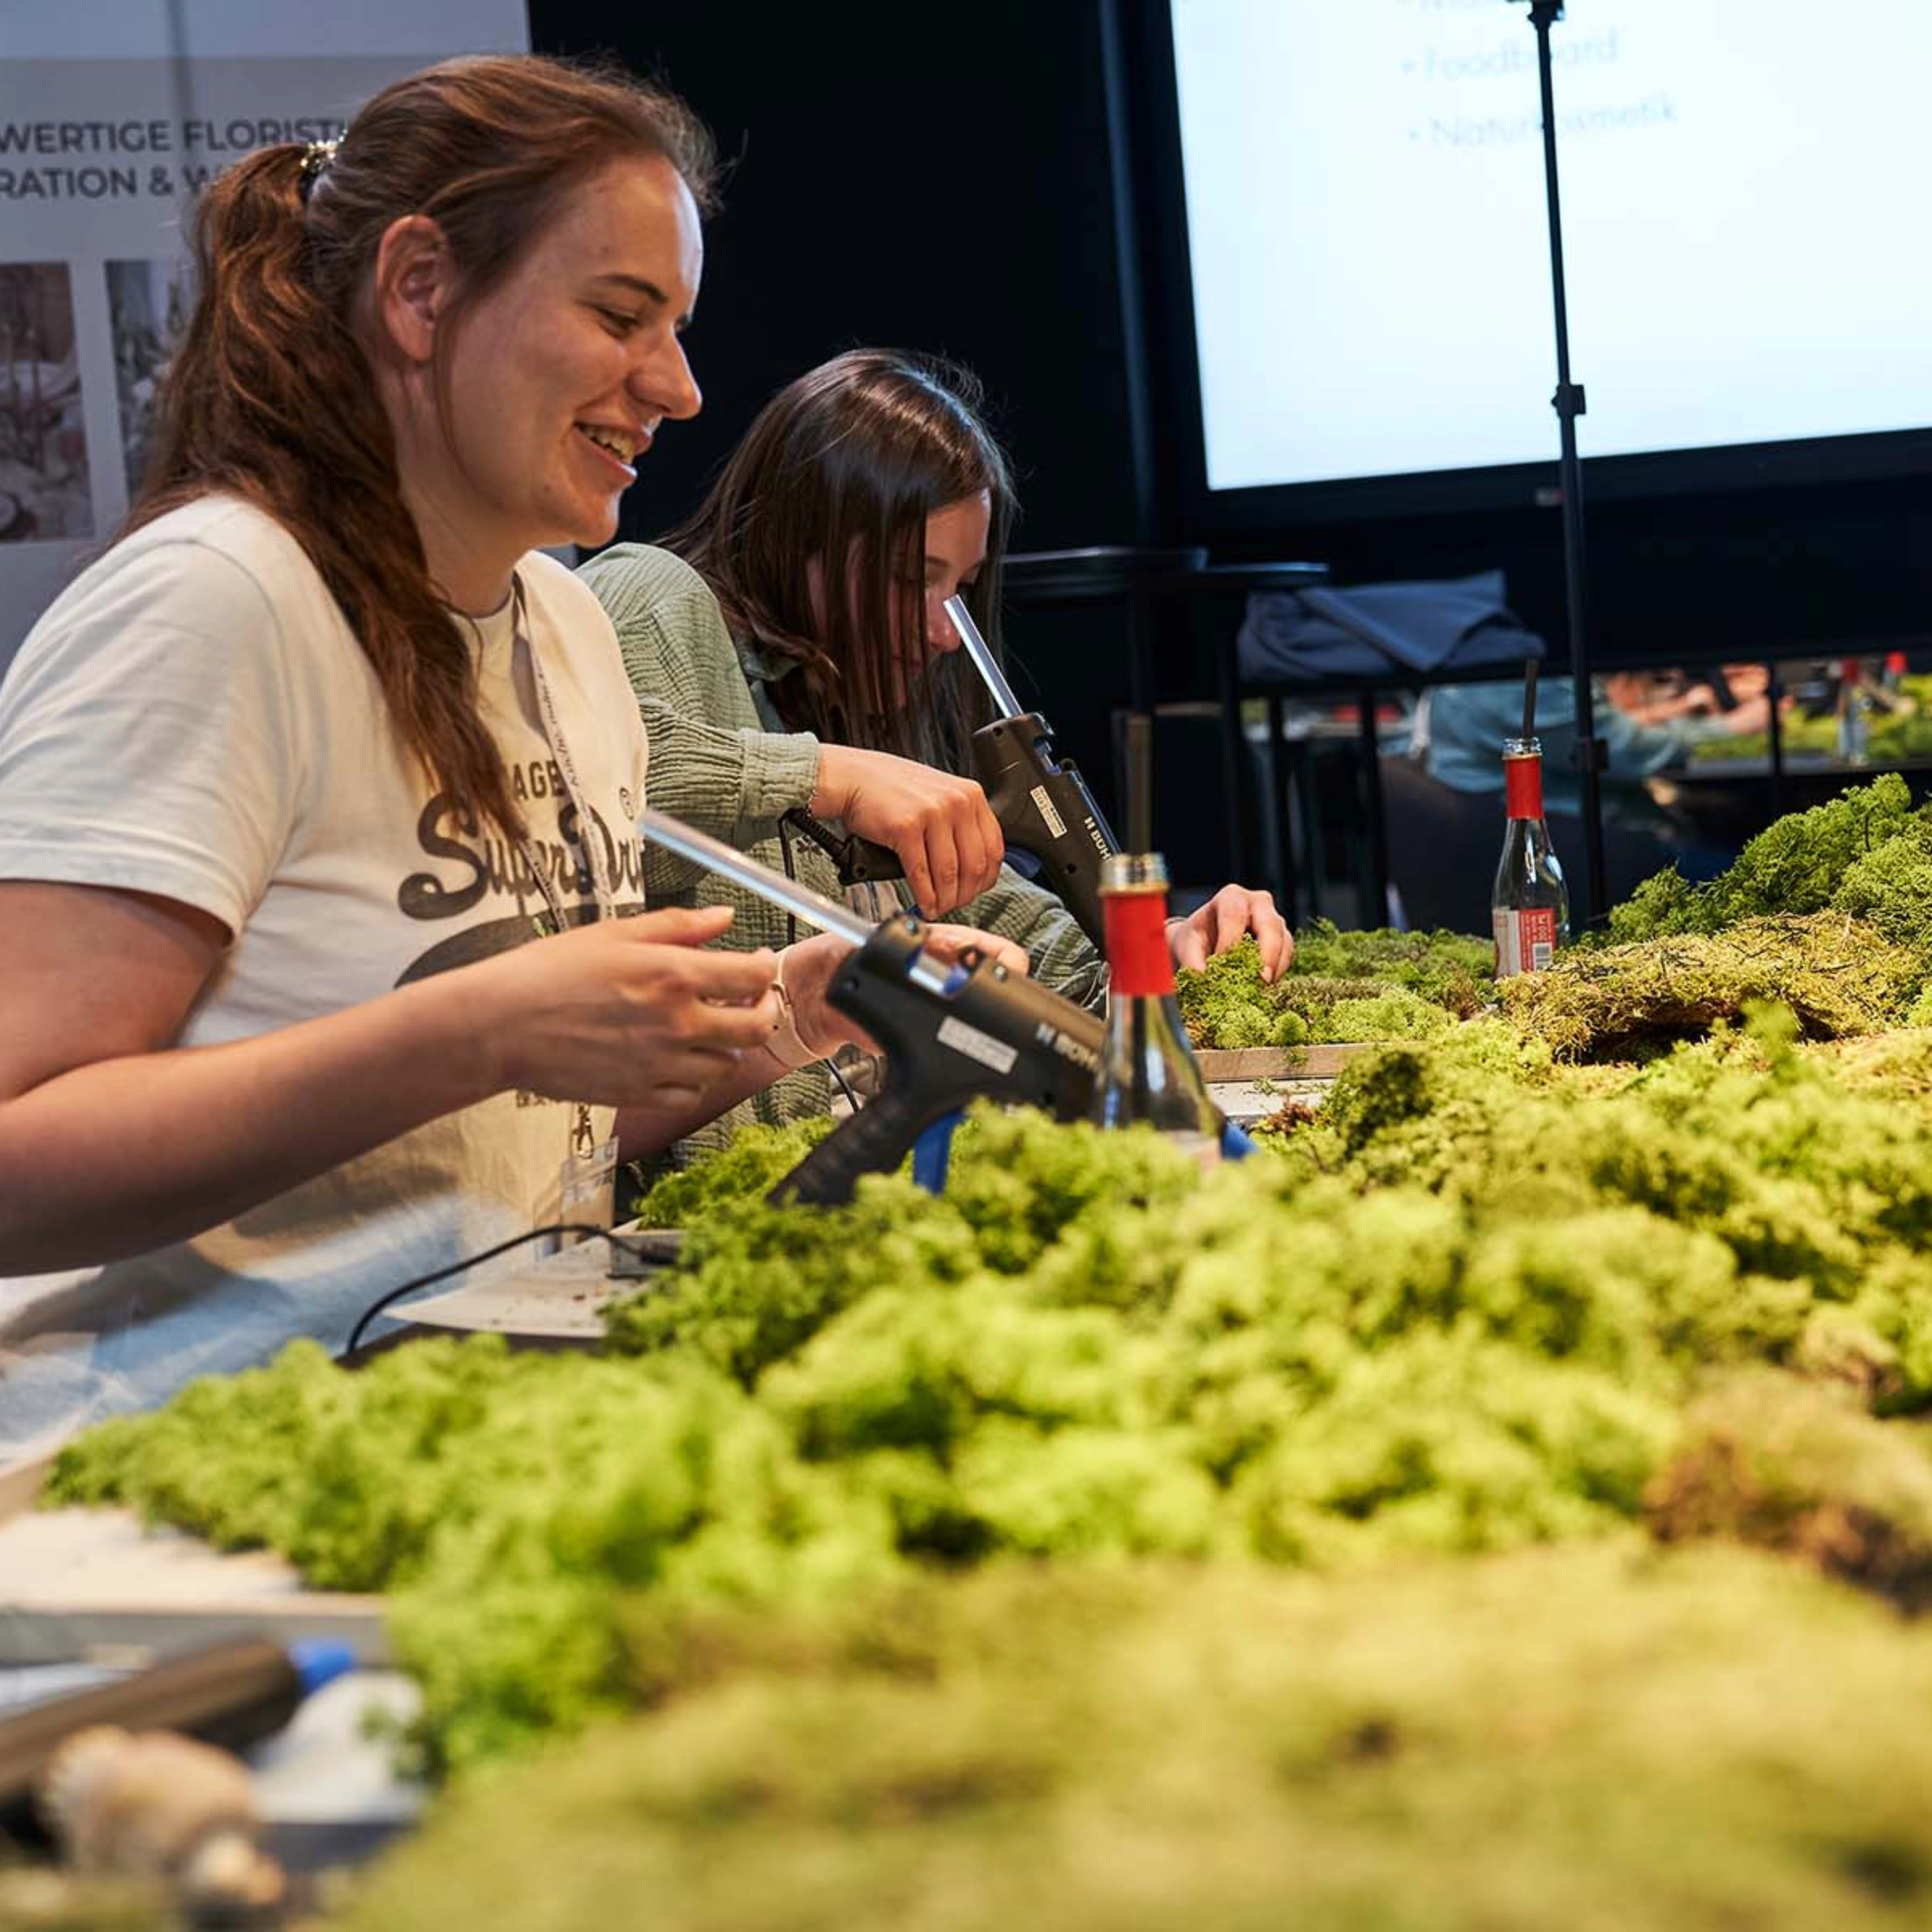
2. Preheat your hot glue gun and be careful, as the glue becomes very hot.
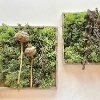
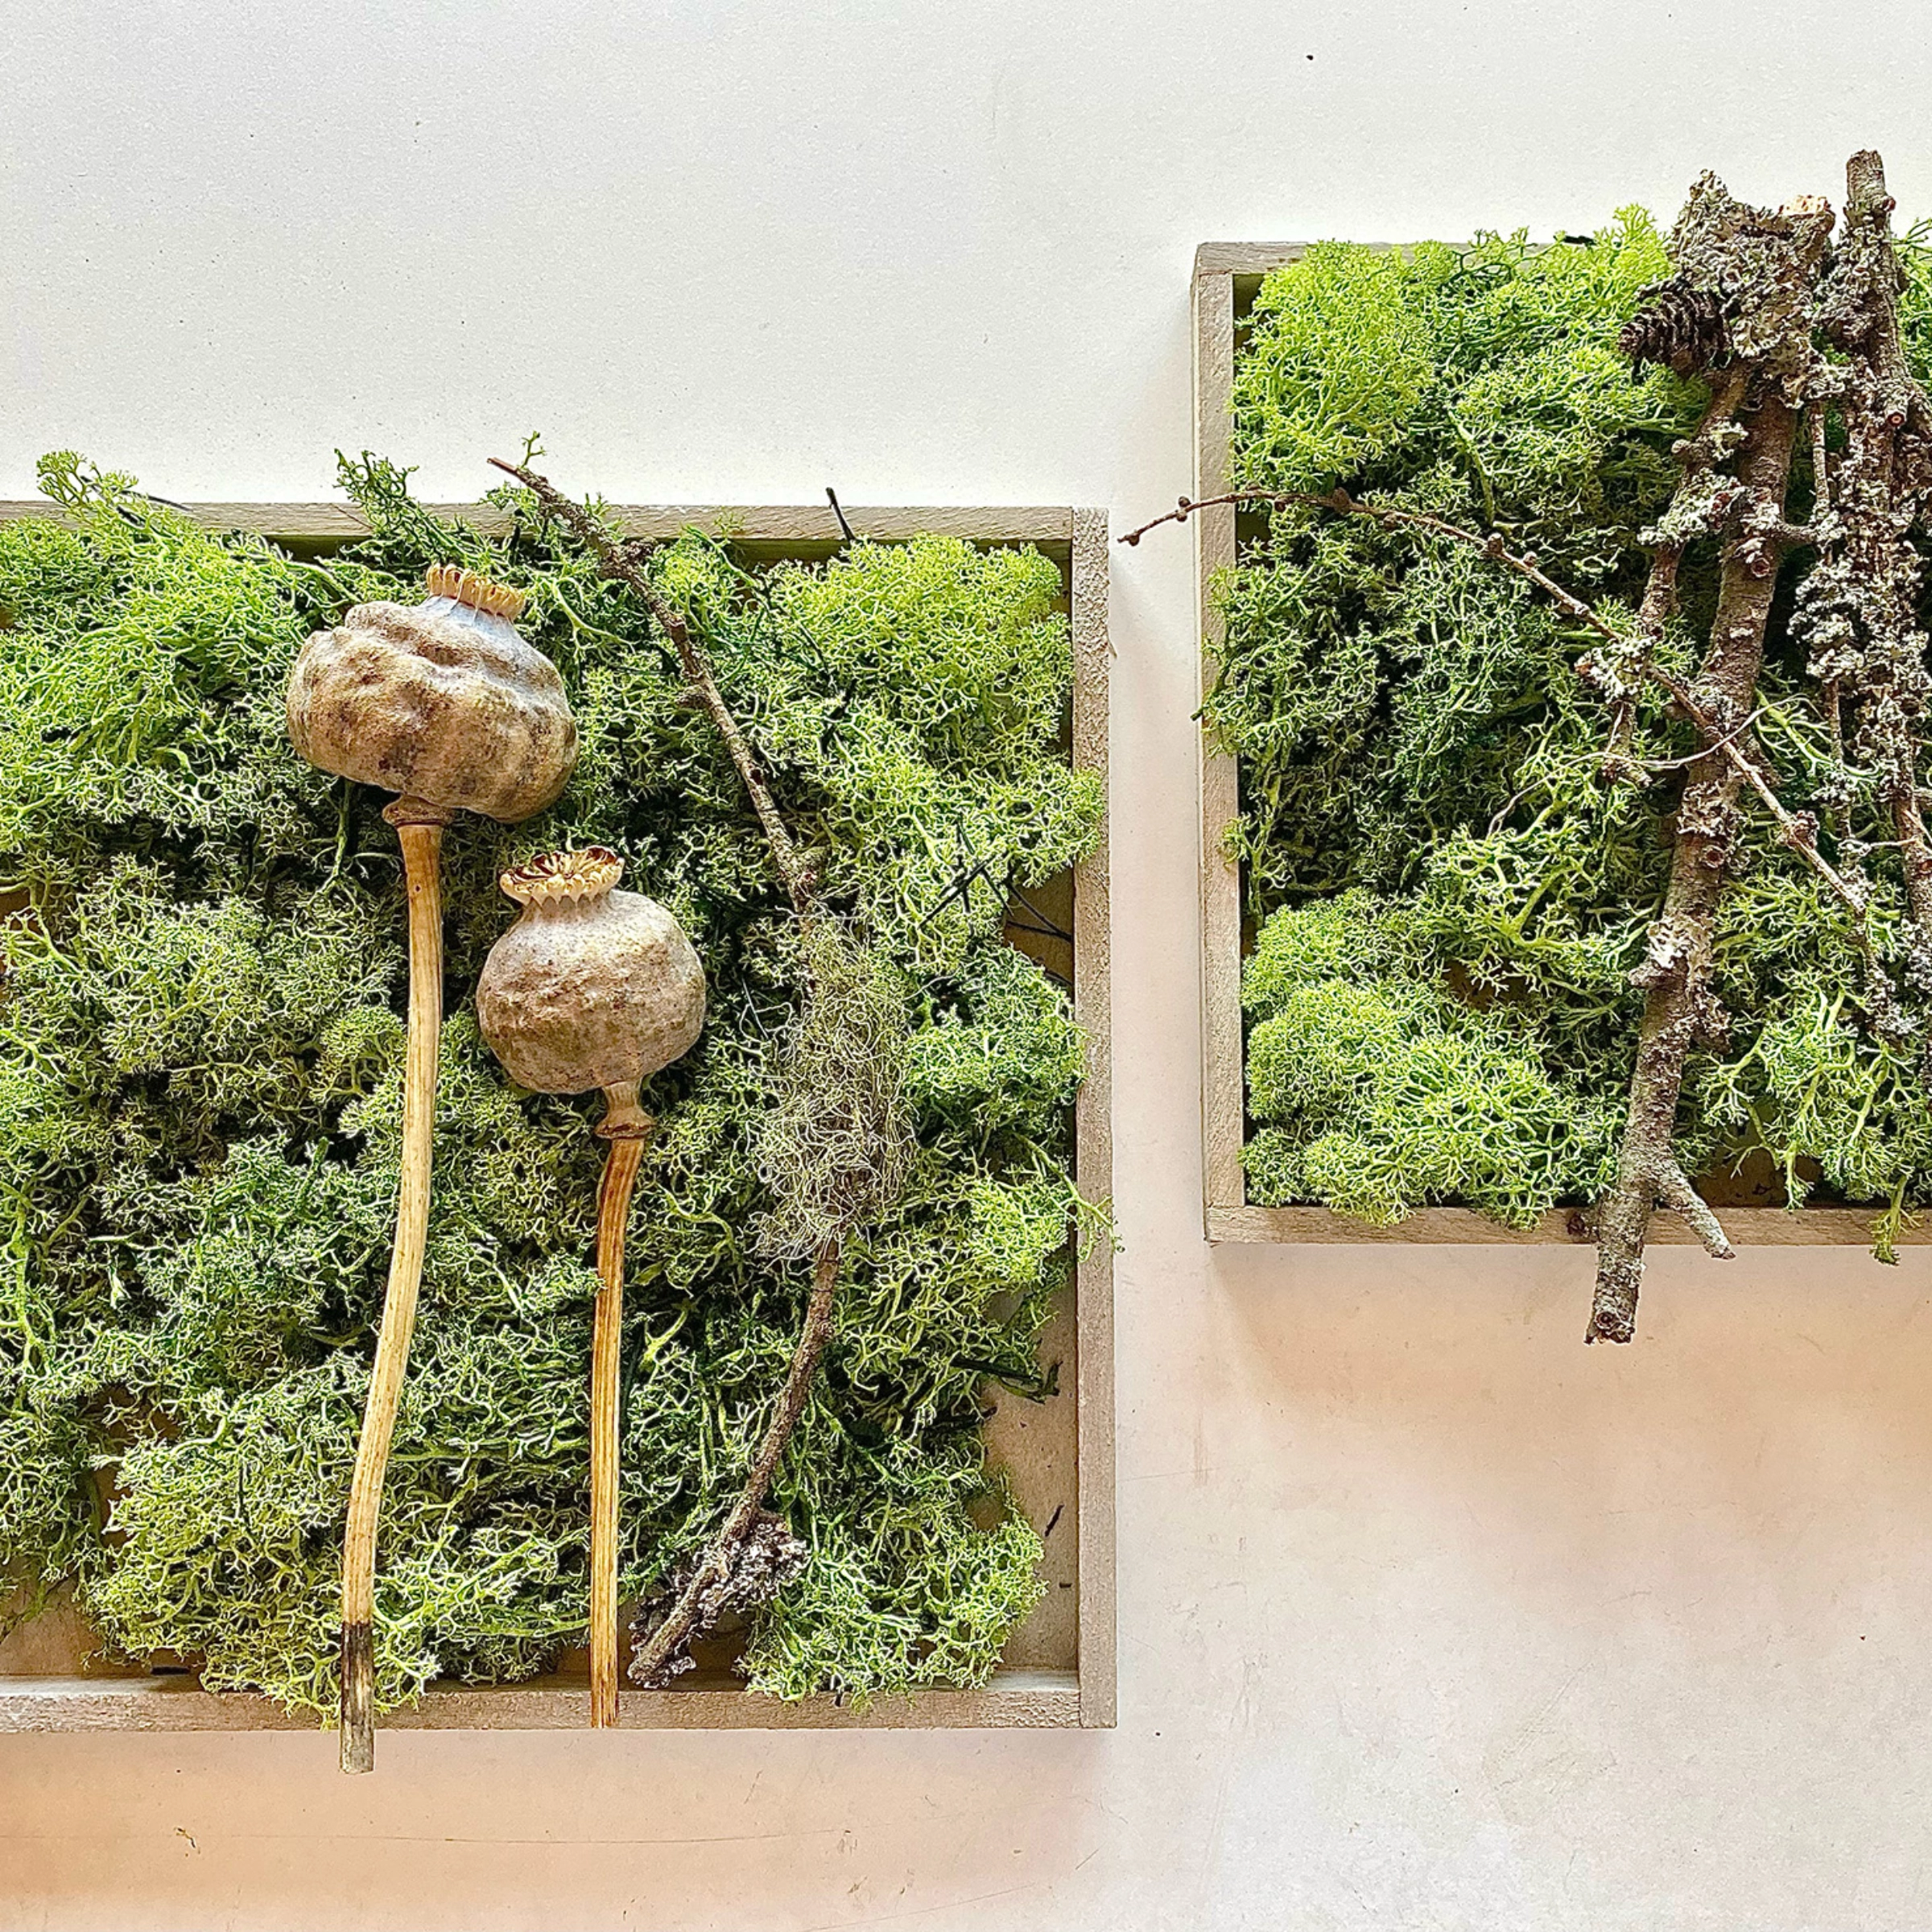
3. Begin arranging the moss onto the wooden board. You can use different types of moss to create a diverse and interesting landscape. Experiment with different textures and shades to achieve the desired effect.
4. Carefully apply the hot glue to the back of the moss and firmly press it onto the wooden board. Be careful not to burn yourself and keep your fingers at a safe distance.
5. Repeat this step until the entire wooden board is covered with moss. You can shape small islands, hills or even a tree to make the image even more lifelike.
6. Allow the moss picture to dry completely and check whether all pieces are securely attached.
7. Optional: You can treat the moss picture with a clear varnish or wood preservative to ensure greater durability and protect the moss from drying out.
8. Admire your handmade moss picture and find the perfect place to display it in your home. It will certainly attract attention and become a source of natural beauty.

Don't forget to share your creation! Post a photo of your DIY moss picture on Instagram and tag me so I can see it. I'm looking forward to seeing your unique interpretations!
Have fun creating and enjoy the calm and grounding atmosphere that the moss picture brings to your home.
Your Katharina
Moss Picture Instructions

Discover tips and tricks
Discover many more tips and tricks in the Nolte Magazin.